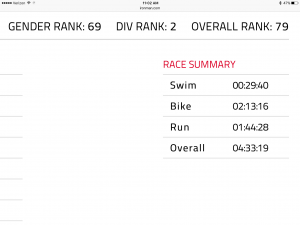
Ironman 70.3 Boulder 2016
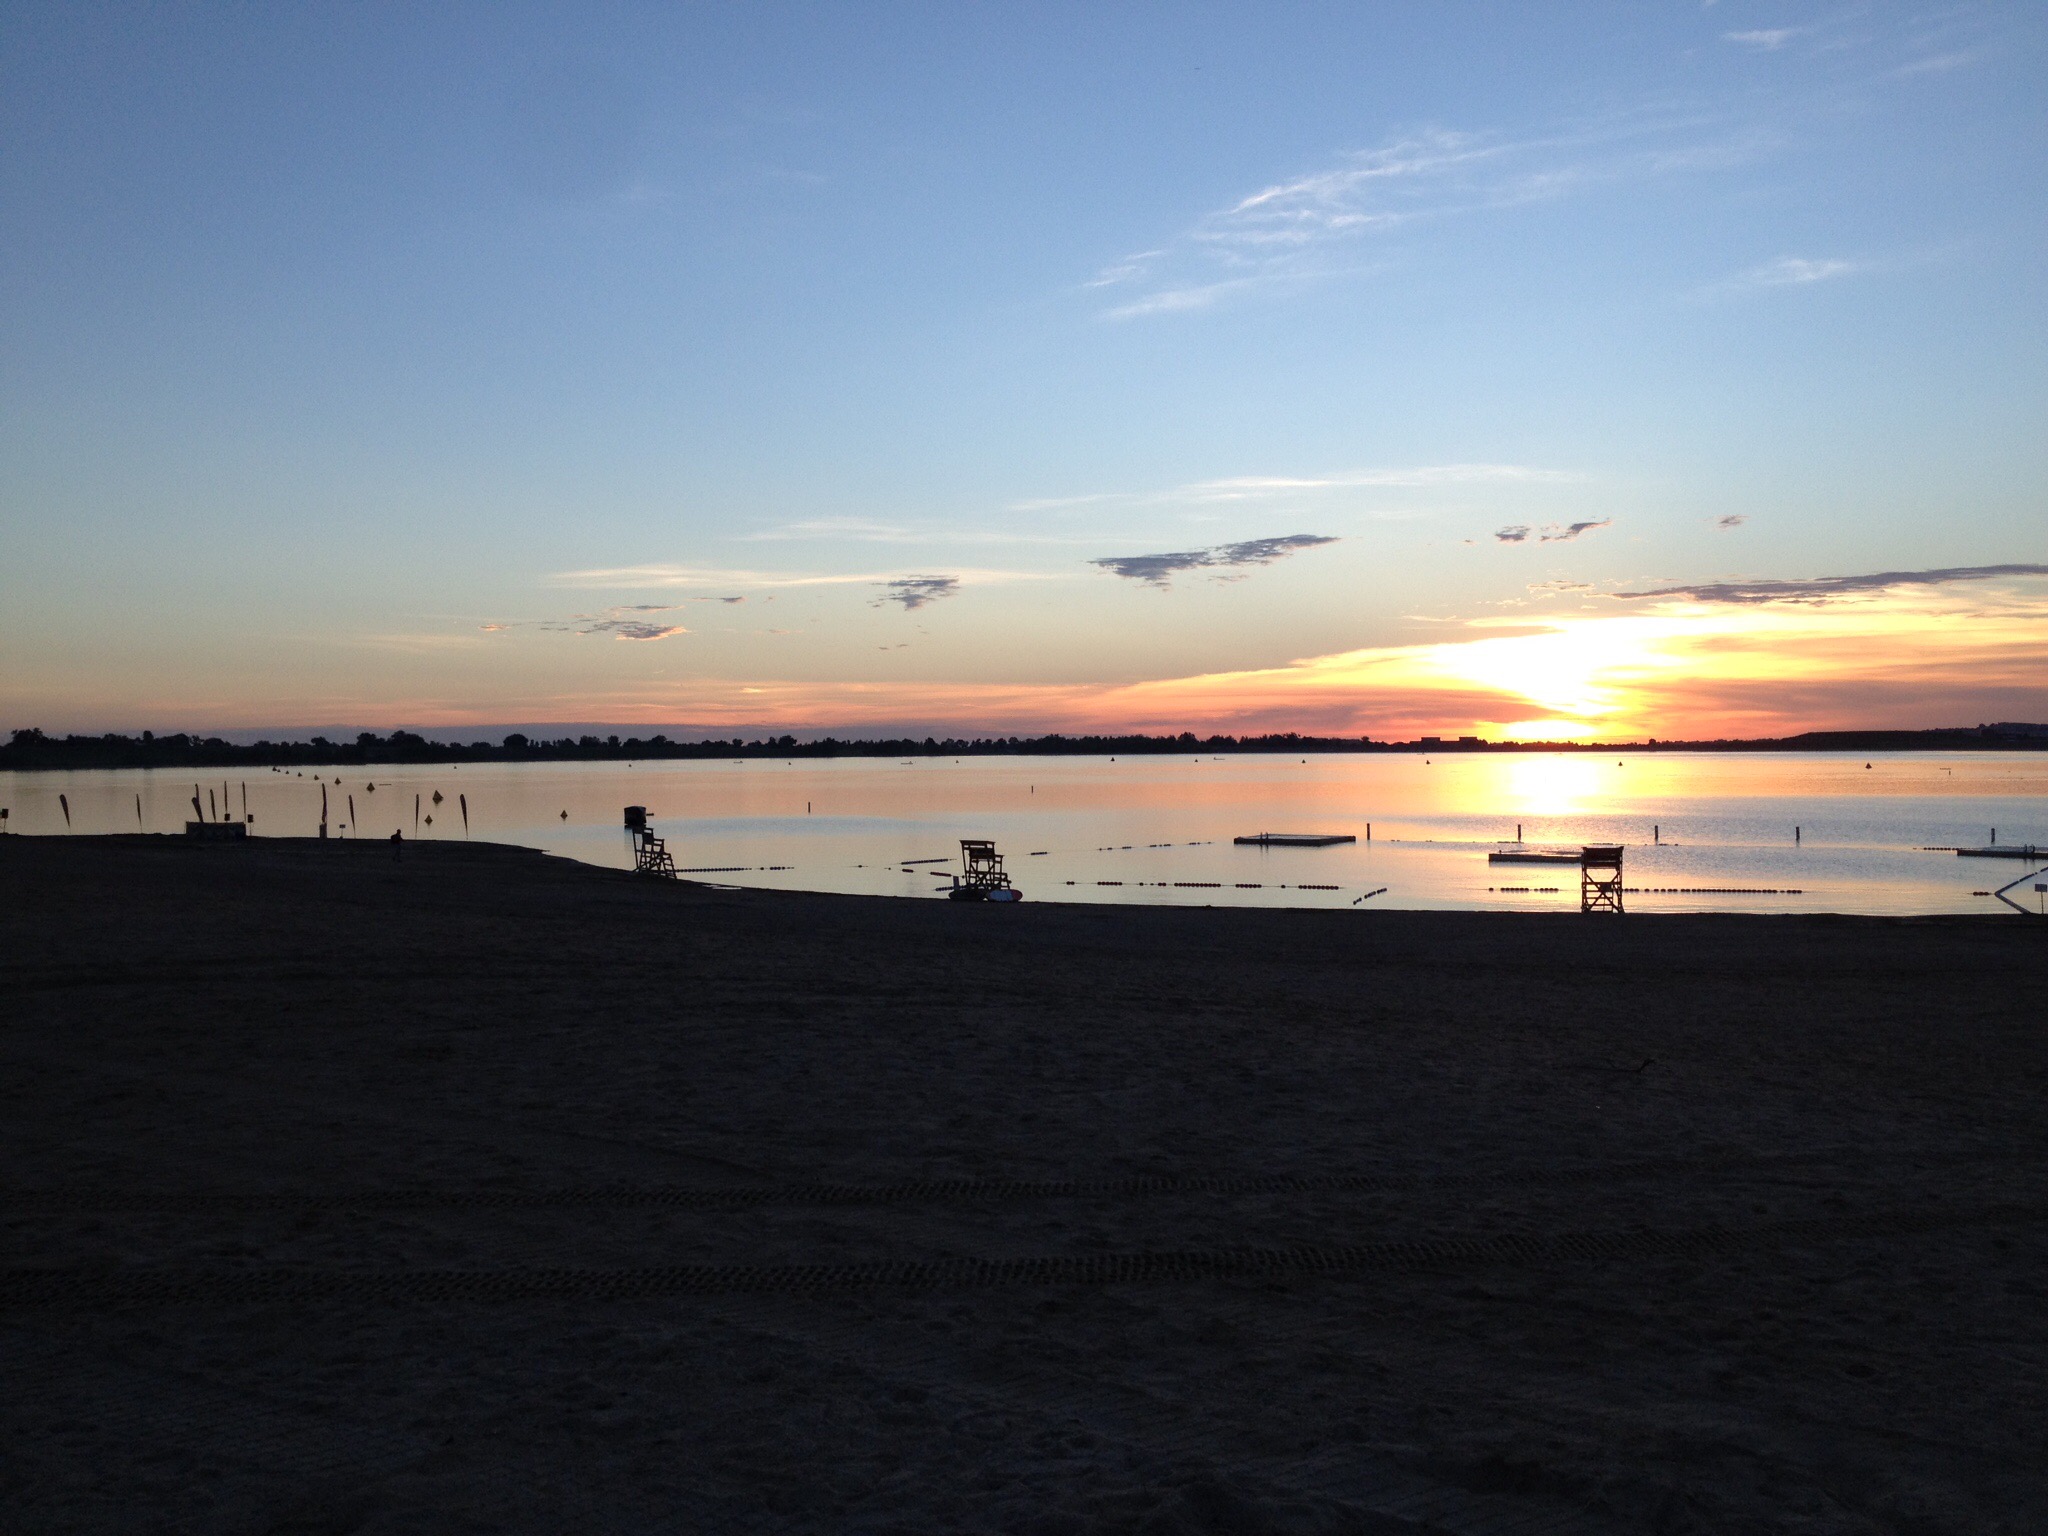
Pre-race: Got up about 4am and had some bullet proof coffee for my pre-race meal. About 300 calories in all. Then just sipped water the rest of the morning. Filled up 2 water bottles with Infinit and did a few core exercises to help wake my body up. After a couple visits to the bathroom, it was time for the beautiful sunrise drive down to Boulder Reservoir.
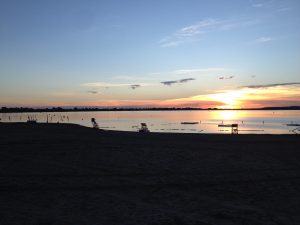
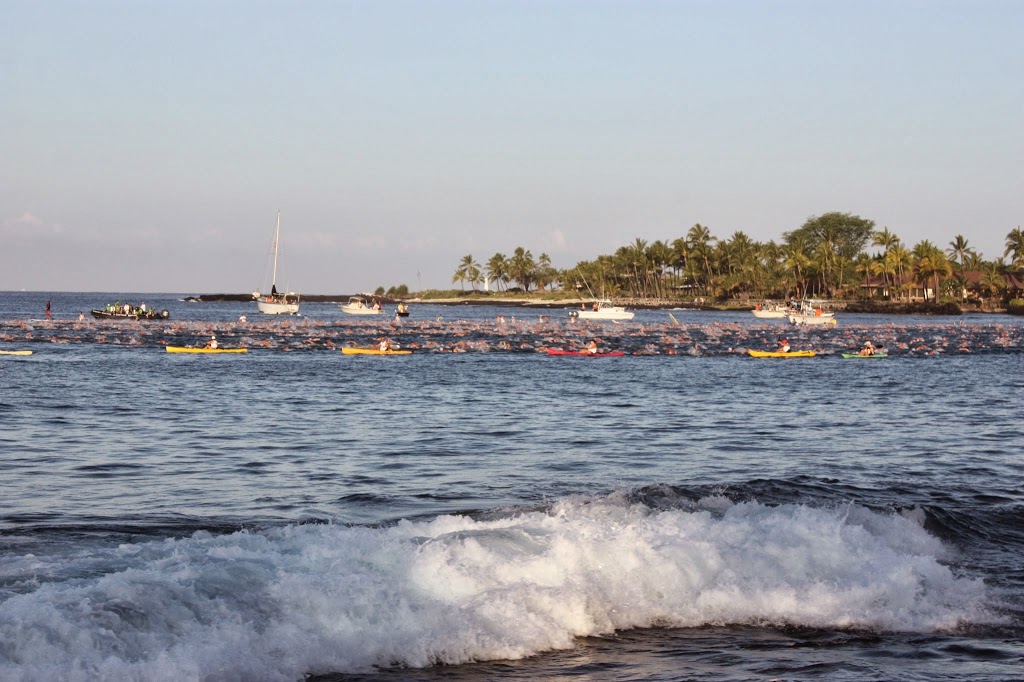
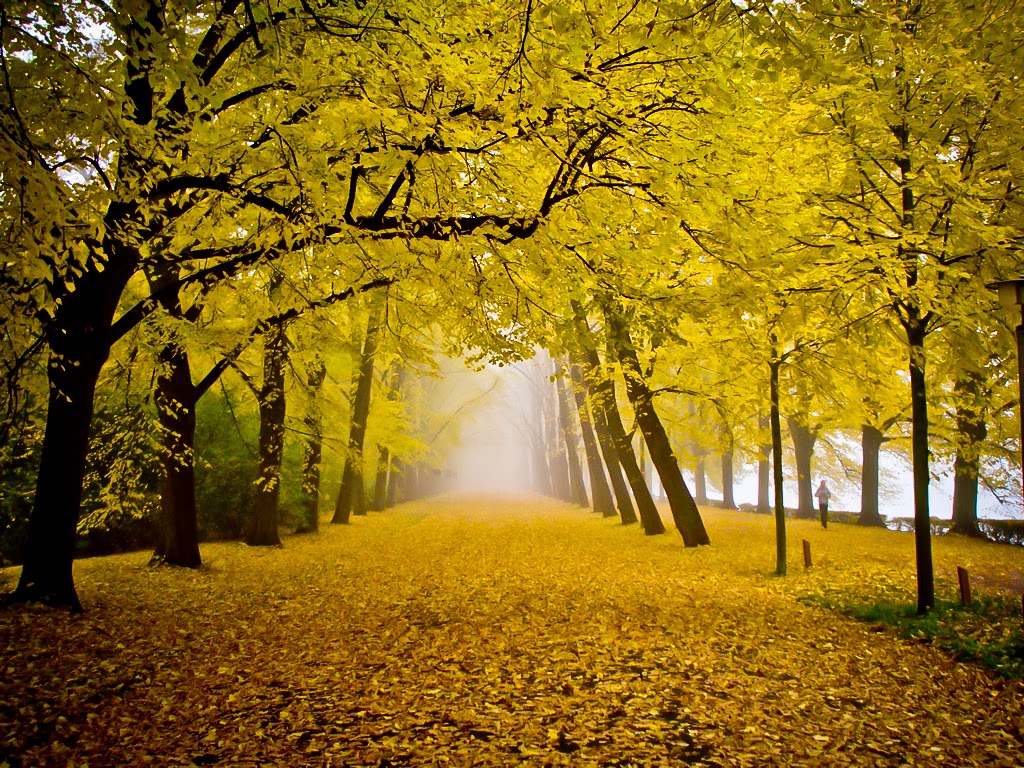
Sunrise over Boulder Rez
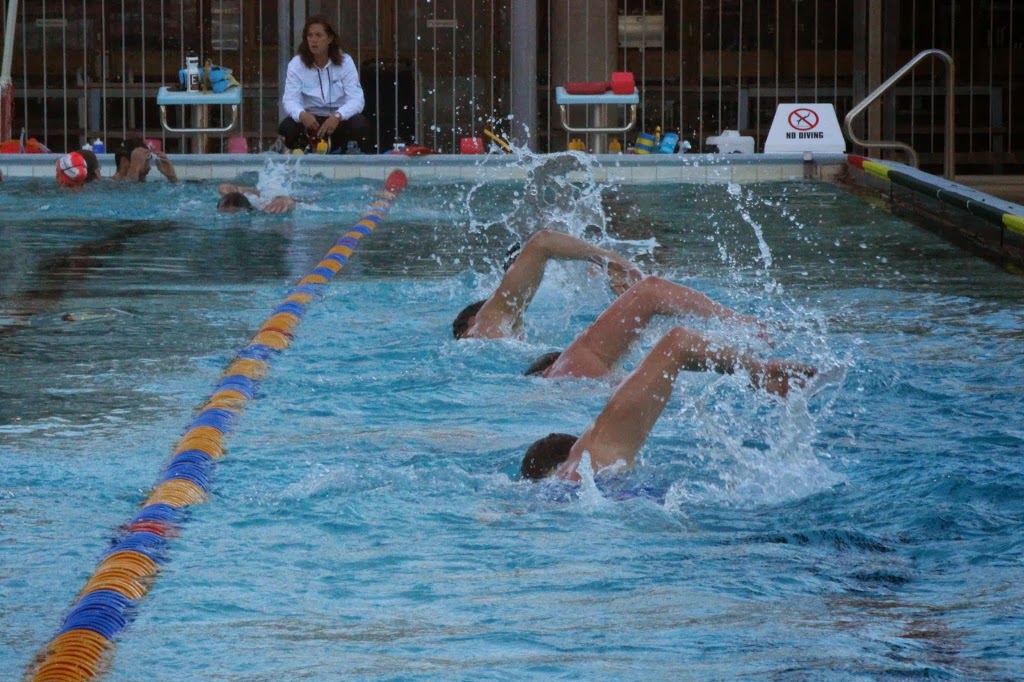
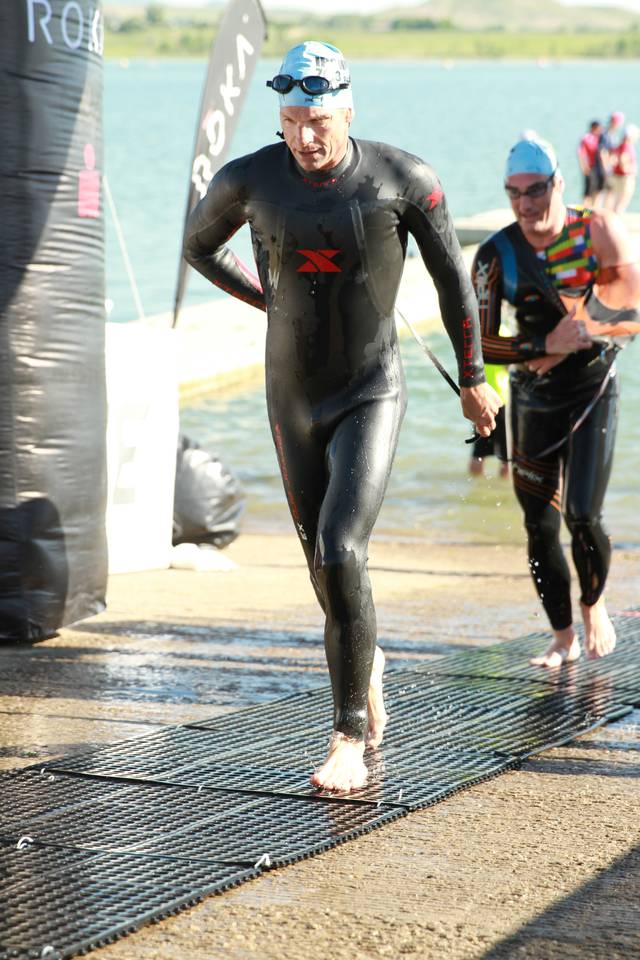
The Swim: After taking on the FAST Masters coaching position last fall, I needed to make some adjustments to my own swim training. First, I increased my Vasa Ergometer training sessions to help save time and create a very specific training stimulus for the race. Second, I incorporated more 25's "crazy 8" style into longer pulling workouts. Crazy 8's are 8 strokes as fast as you can go, then easy to the wall on :40 or :45. This helped remind my body how to move fast. Lastly, I swam more with snorkel, buoy, paddles and ankle strap in pull sets along with sets of 20 x 25 @:30 just snorkel and ankle strap. I really like the latter for training to sustain a higher stroke rate.
As we lined up for the swim start, my buddy Dean "The Diesel" Davis suggested we work together (me follow him out) then settle into our rhythm and that's what we did. The two of us and another swimmer spent our 29 minutes working our way forward on the course, navigating the swimmers ahead from earlier waves and just like that, we were headed for T1.
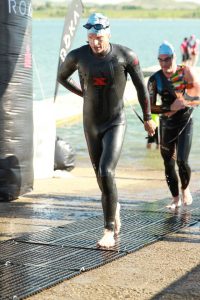
T1: Ouch!!! Running a fair amount on concrete I managed to nail a couple of rocks right in the same spot on my forefoot. I remember thinking, "this is going to hurt later," but race day adrenaline took care of the discomfort. Quick wetsuit strip, shoes on, helmet and off I went.
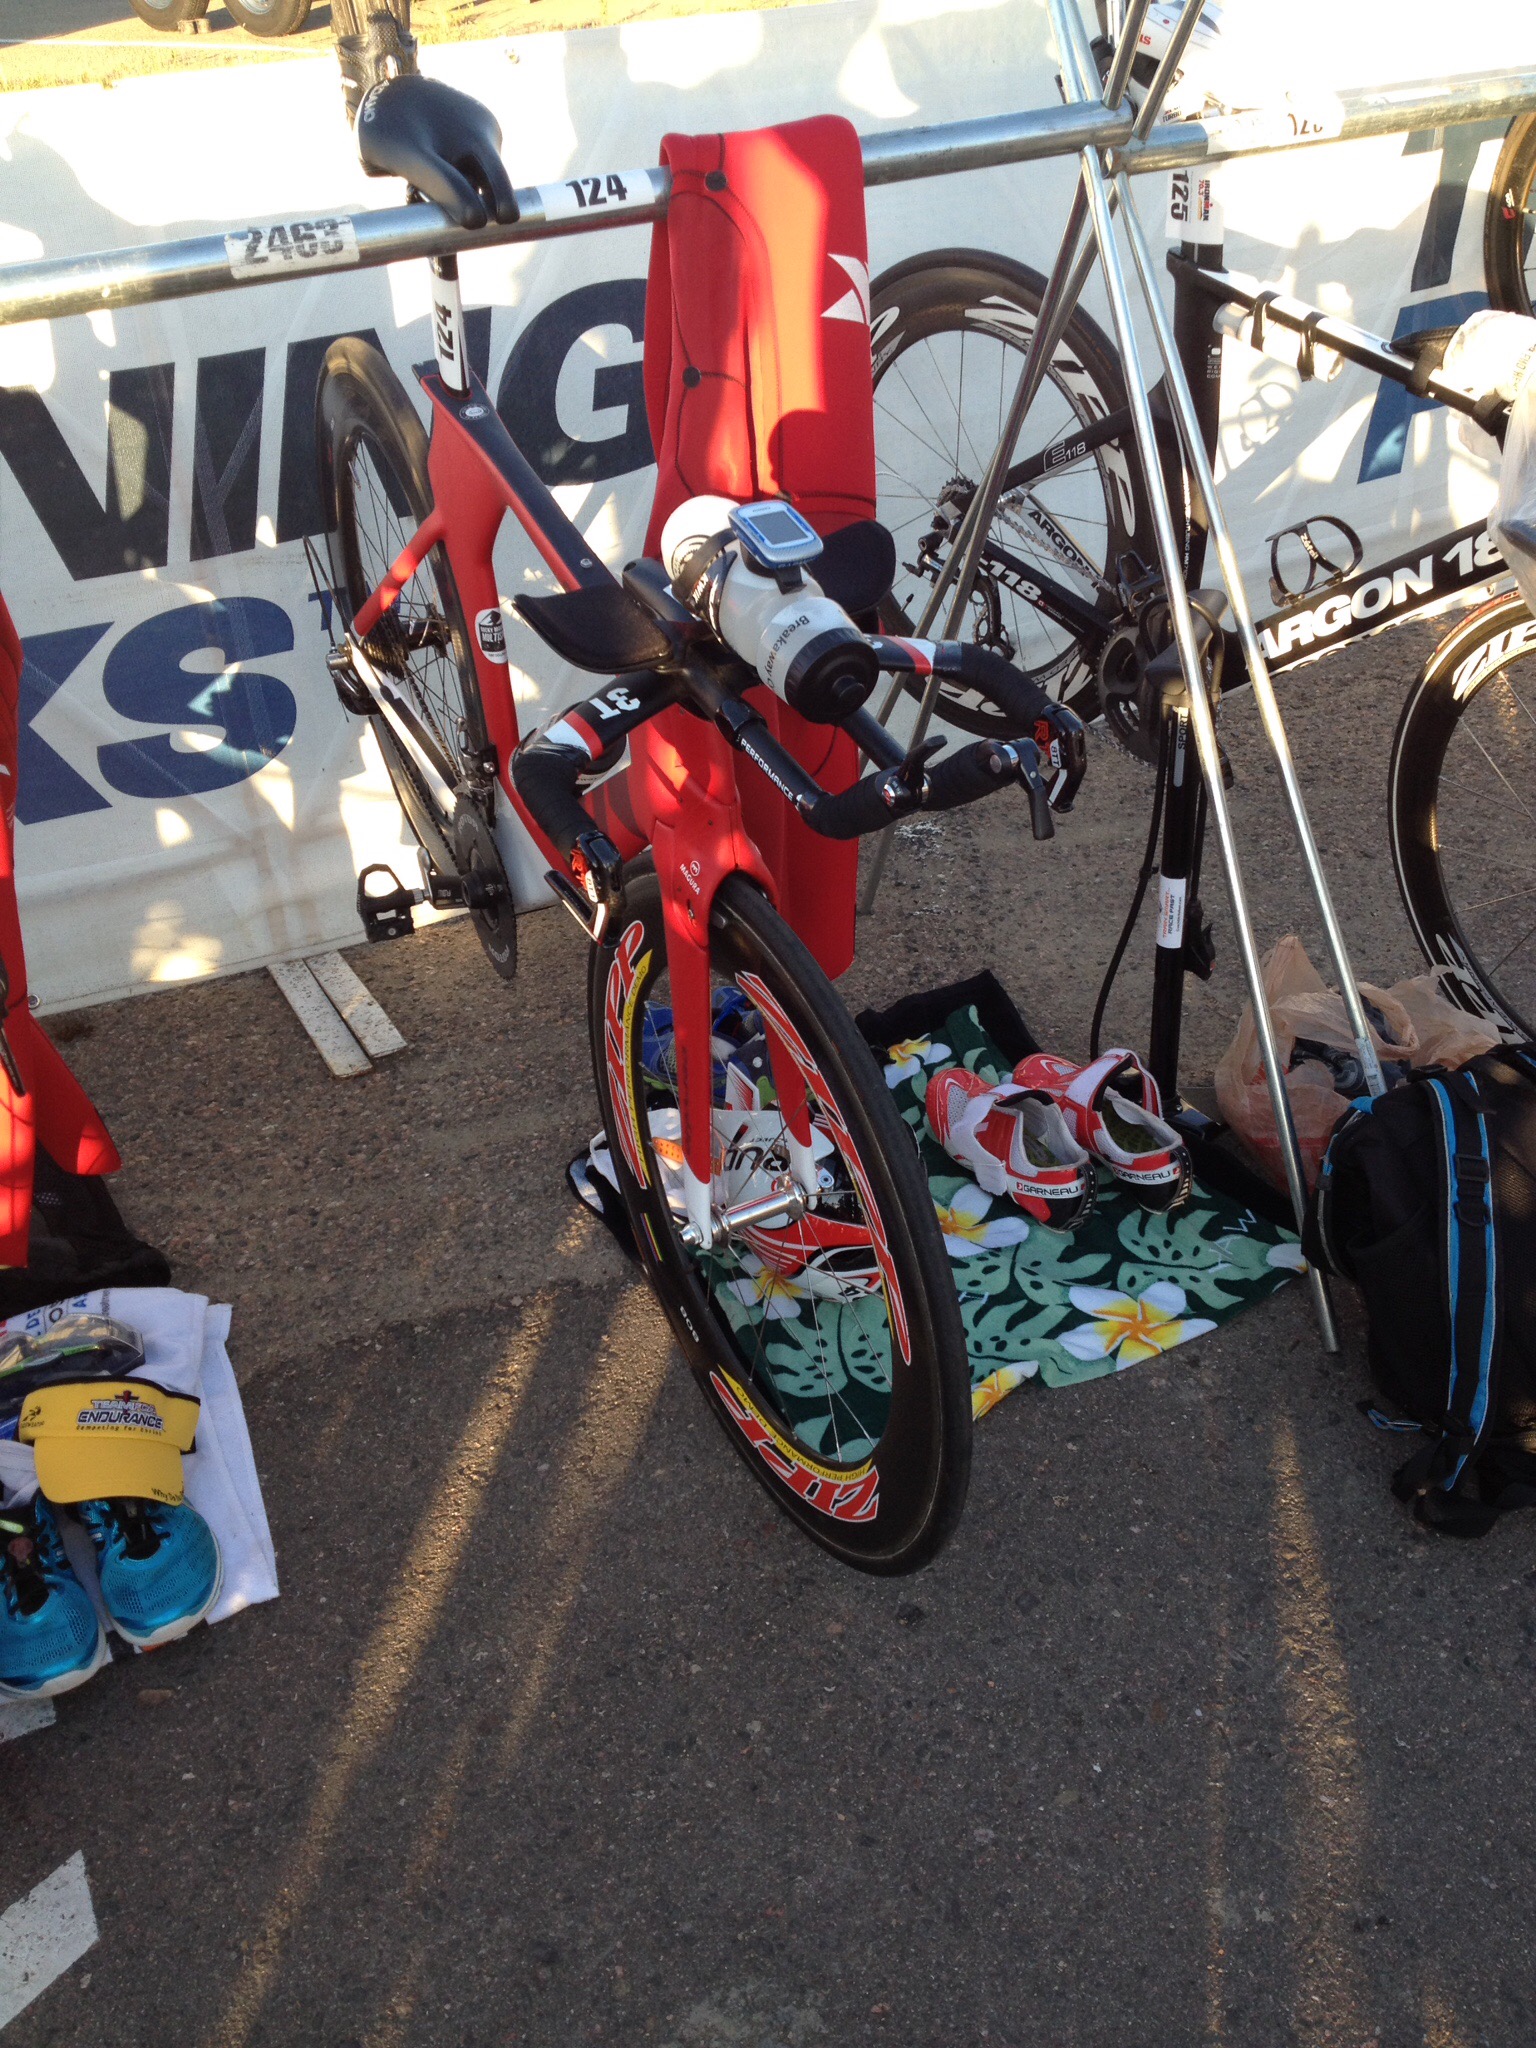
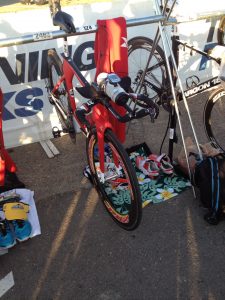
The Bike: After 7 years it was time to upgrade. The training combined with some improvements in technology (P5 and race wheels) made for a fast ride. Patrick Ray at Rocky Mountain Multisport dialed my ride in -- I'm a pain in the butt when it comes to making sure my brakes are in good working order (not rubbing the rim). Patrick also made another suggestion regarding cleat placement on my shoes to help minimize the amount of stress/fatigue that the calf muscles experience during the ride.
Heading out of T1, I hear Patrick yelling "Go Get It Neilsen" and that was the plan once the body settled down out on Diagonal Hwy. Starting in the second to last wave of men, there was a lot of bike traffic on the road ahead. Fortunately, they had a wider section of road for us to ride on during some of the earlier miles to make passing a little bit easier, but you still had to watch out for the "orange road cones" as those can hurt at 30mph.
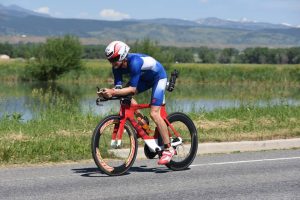
Trying to dial in power between 200-215 watts, I zoomed up towards Airport road, flipped a u-turn and back down Diagonal to Jay Road which is part of the old course. Then heading north on 36 out of Boulder and right onto Neva Road for a really fast section down to 63rd St. This was a bit sketchy as 2 cars had myself and others grabbing the brakes.
Car #1: Decided to turn off 36 onto Neva the same time as myself and a couple other riders. Cars are part of the course at times, I get that, but why turn off onto Neva then proceed to go SLOWER than the cyclists. For those that know this part of Neva, the right, left, right turns before it straightens out were a bit nerve-racking. Once we got straight on the road again all was well until...
Car #2: My heart skipped a beat as two other riders were even closer to the potential accident. Three of us were rolling along close to 30mph when Car #2 passed us and braked hard to SLOWLY turn right onto a dirt road. The two riders ahead of me braked even harder, swerved left into potential oncoming traffic (fortunately none), and resumed their route. I was lucky and only had to sit up and hit the brakes hard. The three of us arrived at the left turn onto 63rd just shaking our heads thankful that nobody had T-boned the car.
Heading up 63rd I knew that half of the bike course was done and made sure to stay on top of hydration as the day was quickly warming up. Left turn on Nelson and back up to 36. This was a key section of the ride as I knew from training on the course that if I could keep my power around 230 watts going back up to 36 I could ride a strong and steady pace to the finish. Mission accomplished! I picked up a water bottle before making the turn onto 36. Another 2-3 minutes before things leveled out a bit before the downhill rollers into Lyons, right onto 66 to 75th and into Hygiene, by far the fastest section of the course of the day.
After going through Lyons and over the train tracks (thank you race officials for laying protection down there) I was feeling good but backed off the power just a touch to start prepping the legs for the run. The last miles went by quickly and I was able to get out of the saddle a few times to stretch the legs and back. Rolling into Boulder Rez, I felt confident the ride went well and I caught up to the only guy that had passed me during the ride.
T2 After bike dismount, run in and proper bike racking, I sat down to get my socks and shoes on because I find trying to put them on standing up I wobble all over the place. Once the feet were ready, I grabbed my hat, watch, race number and sunglasses and starting running towards the exit while getting all that stuff in order.
Transition Tip: Save time and do things in motion whenever you can.
Upon exiting T2, once again I see Patrick Ray (now wearing a chicken hat) cheering along with a whole bunch of NoCoTri Teammates. What a great way to start the run with a smile on my face.

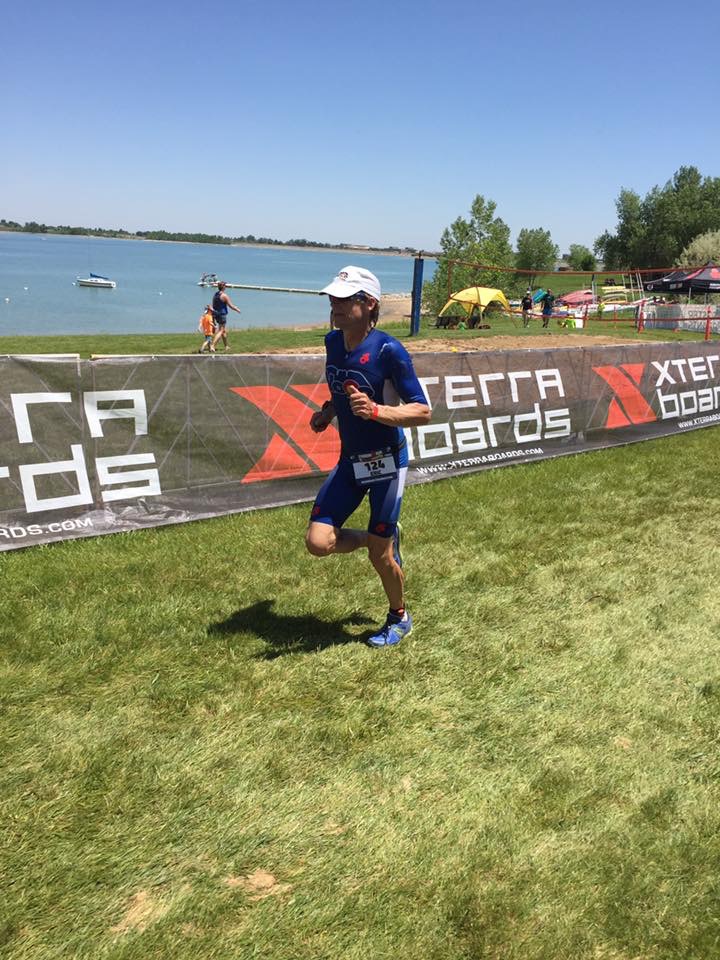
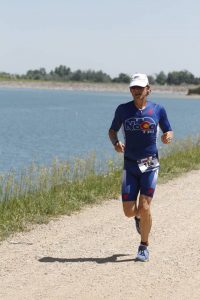
Starting Lap 2 Photo JT Freyermuth
The Run: No surprises here, 2 laps, no cloud cover and the temp was going up. The Plan: Keep it simple, control the first mile or 2, ice in the hat immediately, settle into pace for the day with the mantra "I am a Runner." Hydration strategy every aid station was Gatorade/Water to start, then shift to Coke/water, Gatorade/Water. About 5 miles in, take a bit extra walk time to get more fluids in, more ice and adjust pace down with heat rising (after living, training and racing in Kona for 8 years, I've learned how to manage heat well and make adjustments early enough to avoid the "death march" of lap 2). I learned this the hard way a couple times for sure, but I knew that it would pay off today.
Just before the 5 mile aid station the two leading women were going by me on their 2nd lap and it was race on for sure. I still had Lap 2 on the run to go and after passing my cheering friends at "Tent City" again it was time to increase the mental focus and hold pace. Around 8-8 1/2 miles I once again took a bit longer at the aid station. This ensured enough fluid in the body and ice in the hat. Past mile 11 I took one last hydration load as I knew after that, there would be no stopping until the finish. Those last 2 miles across the dams were tough and I needed to really dig to hold onto pace.
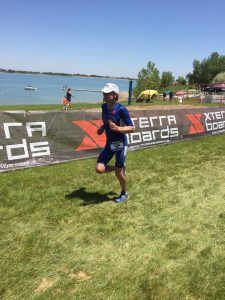
Last miles on the Dam. Focus time!
With a new finish area this year the last 1/4 mile took us through the boat storage area, around transition and into the grassy finishing straight which was a welcome site for sure. Crossing the line I was spent and it took a couple of minutes to stop having tunnel vision. Finish line staff kept us moving along and hydrated. I got a couple bags of ice to put on my neck and tuck into my jersey top to start cooling off.
Finish Chute Photo JT Freyermuth
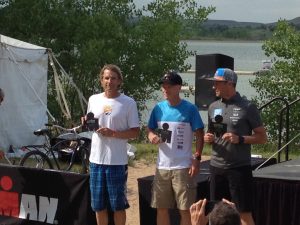
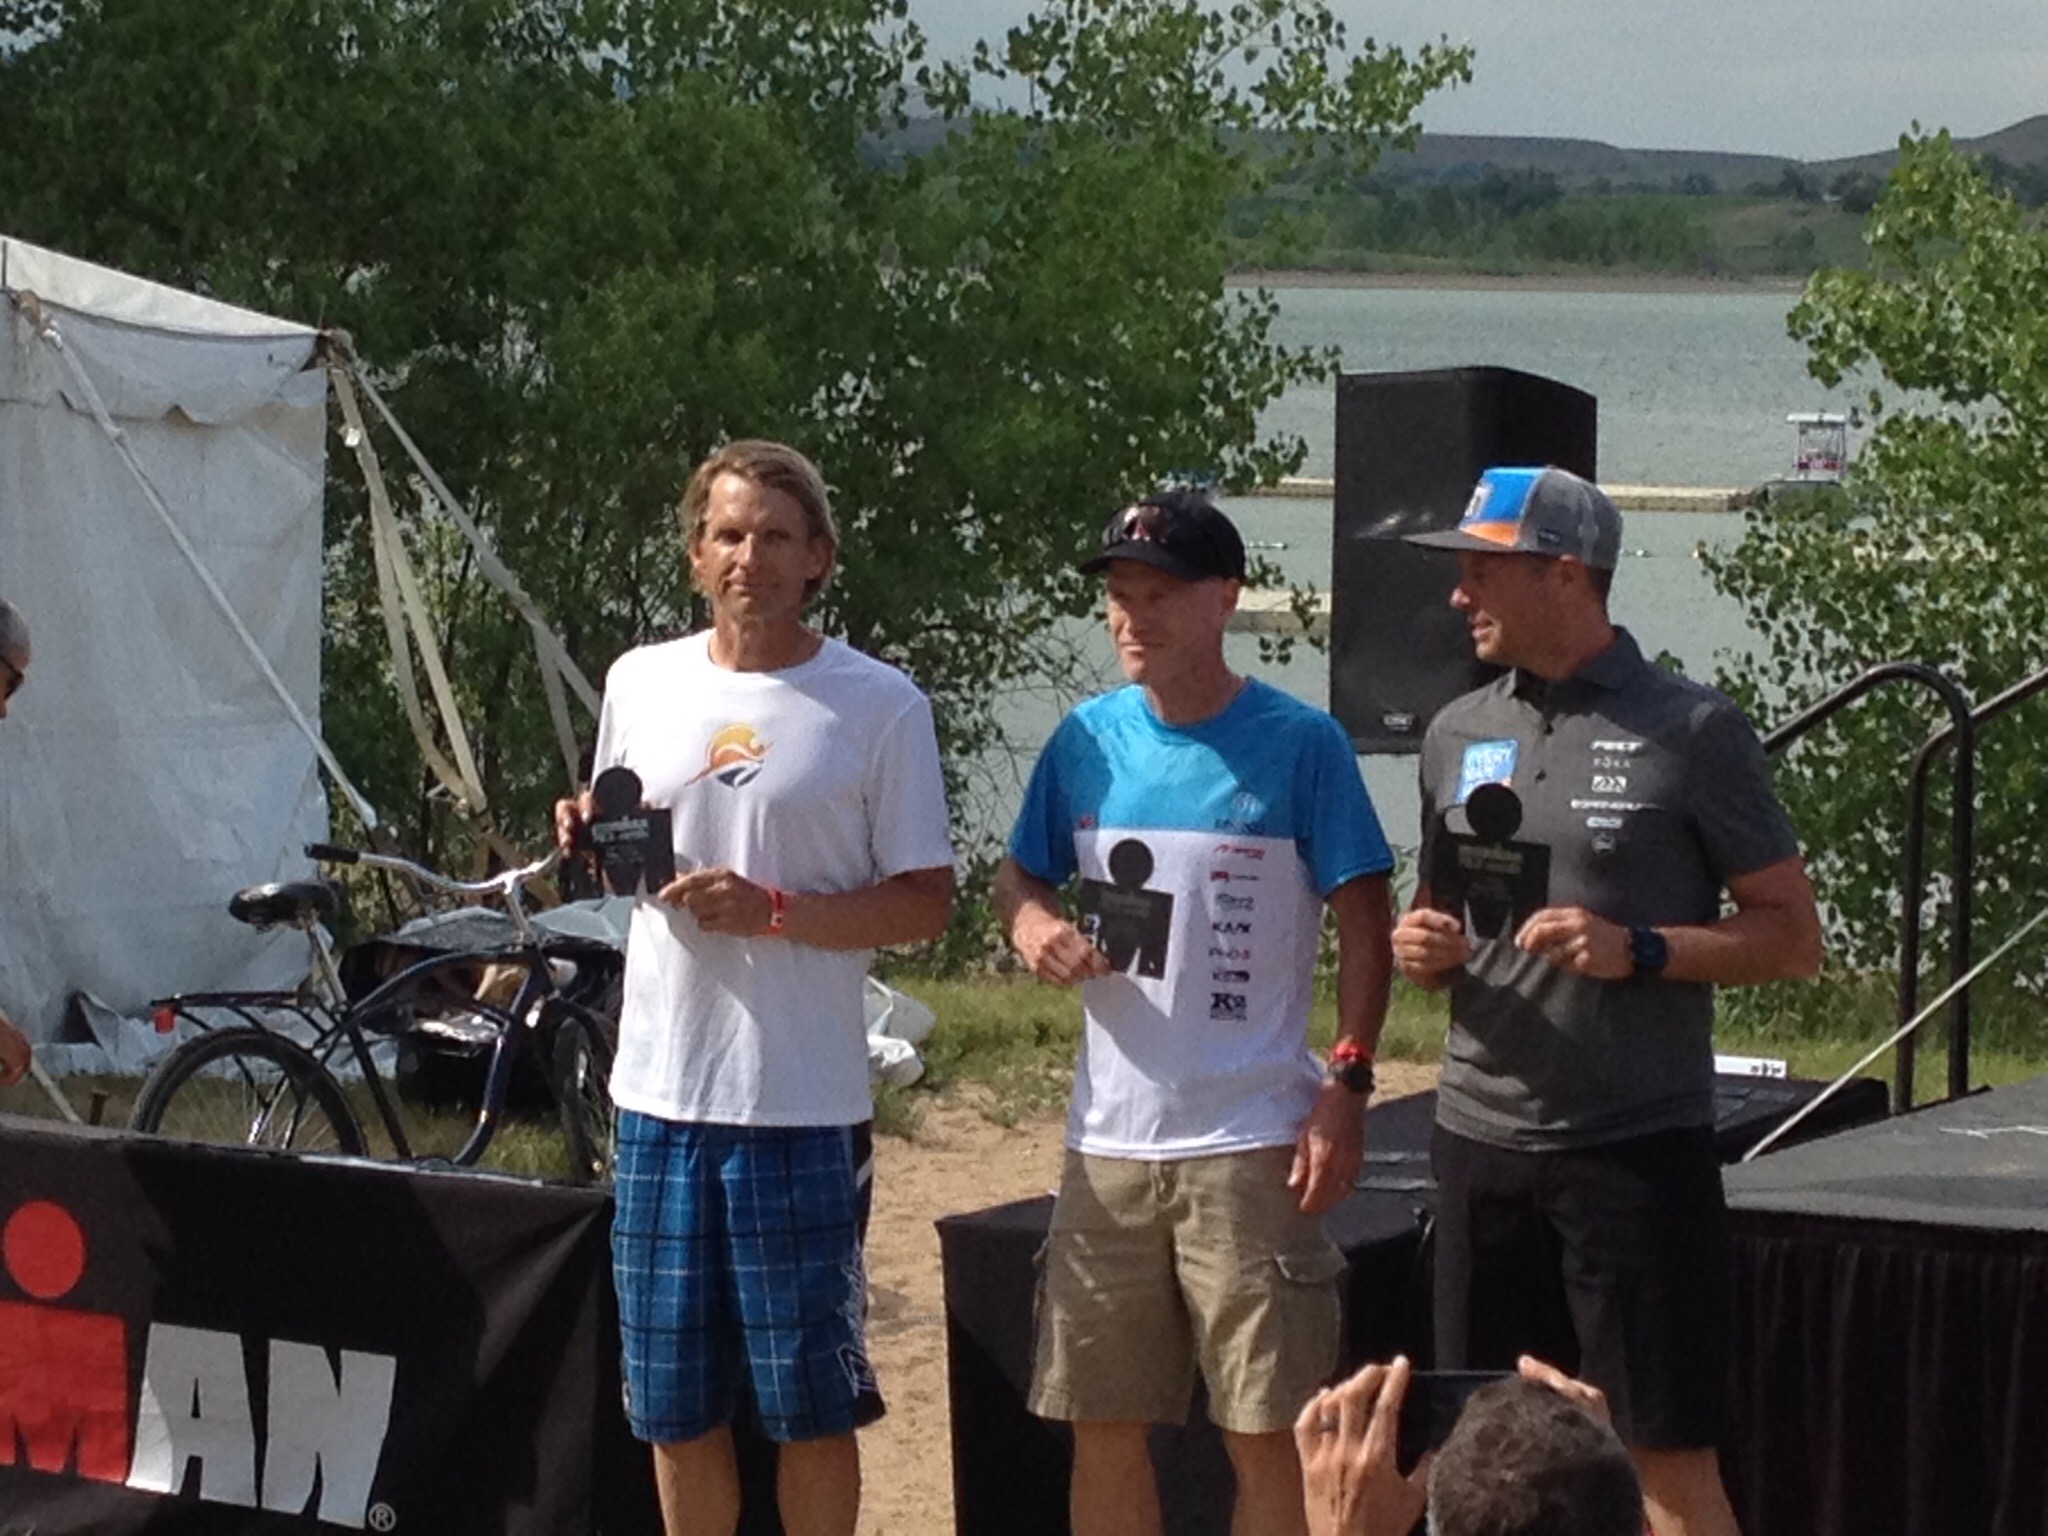
Podium L-R Eric Neilsen, 2nd, Terrance Ramirez, 4th and Tom Trauger, 1st
Summary: I'm always grateful to have the opportunity to do the things I love. Racing here in Northern Colorado with teammates and friends makes it that much better and helps bring the best out of me. A BIG THANK YOU to my crew that keeps me going. Sharon Cook, Dylan Schubert, Patrick Ray @Rocky Mountain Multisport, Scott Barrow Massage, Craig Depperschmidt @Rebound Physical Therapy, Infinit Nutrition, FAST Masters and... "The Diesel" 🙂